How to for the broke bladesmith. A hamon (pronounced huh-moan), is a visible line down the length of the blade, created by a technique that both adds to the blade aesthetically and physically; hardening the edge while keeping the spine soft and tough. This is the way I did my first successful hamon. http://photos-e.ak.instagram.com/hphotos-ak-xap1/t51.2885-15/10735113_302710569929220_1873790070_n.jpg
I started with a nearly-finished blade (forged, normalized, ground, sanded and polished, not yet sharpened however). To make a hamon, you need a insulated sort of clay. The original Japanese smiths used a secret ash and clay concoction, but for this use either a mix called “Rutland’s Furnace Cement“, sold at pretty much any hardware store, and very inexpensive (small container is about five bucks), or satanite, a clay used specifically for forges and hamons.
Coat the spine of the blade, leaving at least half a centimeter between the clay and the cutting edge. This is a fun time to experiment in patterning. You can either do a straight line following the cutting edge, or you could do a wave pattern, etc. Give a good thick coat; if it’s too thin it won’t insulate enough. More on that a little later. Try to make the clay mirror itself on both sides of the blade. http://photos-e.ak.instagram.com/hphotos-ak-xpa1/t51.2885-15/10748252_315195008672340_1583842645_n.jpg
Once you’re done coating it with clay, put a bucket of oil on the ground near the forge. You want it not so close that you’re knocking over the bucket while reaching in the forge, but close enough so you don’t lose any heat. There are commercial quenching oils mixed specifically for this purpose, but those are expensive. Peanut oil, vegetable oil, or used motor oil work just as well (if you use motor oil wear a respirator).
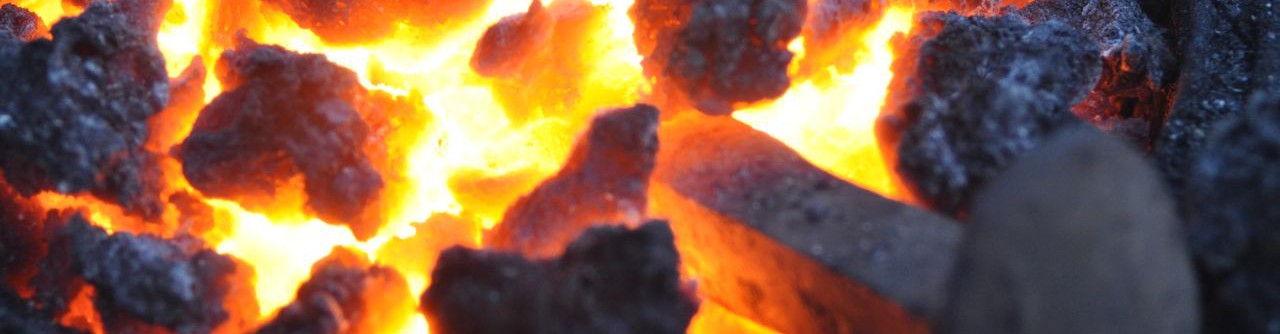
Heat up the blade in your forge. If the forge’s “hotspot” isn’t big enough to heat the entire blade evenly, move the blade lengthwise back and forth, so the heat is evenly spread. Trick is to not let any one part of the blade get up to heat before any other. You know you’re hot enough (cherry red or thereabouts indicates you’re getting close) when the blade is so hot it does not stick to a magnet. Heat up the blade till it reaches dull red, take out and touch to the magnet. If it sticks, you’re not hot enough. If it doesn’t, you’re at the right temperature. It cools pretty fast, so remember the color, and put back in the forge until it reaches that color again. Once it is at heat, take it out and plunge it into the oil. It will smoke a lot, and will likely flame. Wear gloves, and use long tongs. As the blade goes in, move it back and forth (if you keep it in one place, the heat from the tip of the blade will heat up the surface of the oil too much, which doesn’t shock-cool the blade nearer the tang as it should). Don’t stir it in circular motions or like a paddle; that’ll cool one side of the blade faster than the other, causing warping. Rather, move it back and forth so the blade “cuts” through the oil.
This is what happens on the physical level when you do this. Iron atoms are naturally structured in tight, small cubes, one cube hooked onto another, with carbon atoms floating in between these cubes. When heated to the point where a magnet doesn’t stick, the iron atoms switch formation into larger, more expanded and open cubes. The carbon atoms naturally float inside these cubes. When iron is cooled, the cubes shrink and close up again. If it cools slowly, the carbon is “squished” out of the cubes, whereas if the steel cools quickly, the cubes shrink too fast for the carbon to come out, and so they are trapped inside these cubes, which puts a lot of stress and hardness on the steel. This makes the steel very hard to dull, and would fracture rather than bend if you put enough pressure on it. Not good for an entire knife to behave like this (snap!).
If the spine however, where most of the stress a blade would encounter centers, is left soft, it would bend, or spring, rather than snap. To keep the spine soft and tough, while the edge hard, you only need to keep the spine from cooling very fast. This is where the clay comes in. It acts as an insulator, and keeps the heat it gained over time from the forge. When the blade is quenched in oil, the edge comes in immediate contact with the cool oil, and shock cools. The spine however does not; the clay is in the way, and so does cool, but too slowly to harden.
When quenching, plunge the blade in, and move it back and forth for five seconds. Take it out. It will likely start smoking a lot (don’t wear good clothes), and sometimes even flame. Put back in and move back and forth for five more seconds. Repeat until the blade is no longer smoking, or only smoking a little. Once it’s there, run a file over the edge. If it skates over and doesn’t bite, you’re good. If it bites in and makes a mark, cool in water, re-clay, and try again.
Temper the blade and sand, then polish the blade. The blade will still look normal silver color, until you etch it. Since part of the blade has been hardened, it is more resistant to acid than the softer part, and giving it a good etch will reveal the contrast. I use boiled vinegar. Dip the blade in the vinegar and let sit for a minute or two. Take it out and rub off the oxidization with steel wool, then put back in. Keep going until the pattern is as dark as you’d like.
