When looking for an anvil, we’re told a good trick to test if an anvil is good quality or not is the bounce test; let a hammer drop onto the face of the anvil using only it’s weight to push down and your hands just to stead the hammer. If it bounces only once or twice, it’s bad quality. If it bounces six or more times before coming to rest, it’s very good. But why is that? What makes an anvil good or bad and how does the above test reveal it?
Simply stated, a “bad” anvil will form the workpiece very little per given force in a hammer blow, whereas a “good” anvil affects the workpiece much more for the same force. So this is how it all works.
When you drop a hammer onto the anvil face, kinetic energy (whenever I use the term energy in this post, it will refer to kinetic energy) is transferred from the hammer to the anvil, and from the anvil deflected right back into the hammer. So why doesn’t the hammer bounce back up with the same speed it went down with? Why does it eventually stop bouncing? (remember nothing stops moving unless something, well, stops it from moving)
Let me explain elastic and inelastic collisions real quick. An example of an elastic collision are two hard steel balls, of equal mass and speed, hitting each other in a zero-gravity environment. Ball A is going five MPH to the right. Ball B is going five MPH to the left. They hit dead on. What happens? They bounce apart. Why? Ball A has transferred it’s kinetic energy to ball B, and vice versa, so after the collision ball A is going five MPH left, and ball B is going five MPH right.
An inelastic collision is where you have two balls of playdough in the same situation as above, striking each other dead on. What happens? They stick and flatten. What happened? Because the molecules were not rigid in relation to each other (the playdough is softer) the kinetic energy is used to expand the playdough outwards. Kinetic energy has to go somewhere, and as it cannot go as it had in the direction it was going, it is used to expand the playdough outwards, not into the other ball. The steel balls would do the same, but the force is not great enough to move the molecules in relation to each other, so it is transferred to the other ball.
So, going back to dropping the hammer on the anvil. If the anvil face is soft, (inelastic) the energy from the hammer is transferred into the hammer face, and then outwards and downwards, pushing the molecules away, into a dent. If the anvil face is hard (elastic) the energy cannot be used to move the steel molecules apart from each other (bonds are too strong), so it goes right back up into the hammer, pushing it back. Because no material we have is perfectly elastic (which would mean the molecules do not move in relation to each other at all, no material we know of has this property) some is used to move the molecules in relation to each other, and the rest goes right back into the hammer. Each time the hammer bounces a little more is lost until there is no more energy to keep it moving. If both the hammer and the anvil are hard, the hammer will fly back up with the same speed it had going down, which is why as a blacksmith you must be careful not to miss the workpiece.
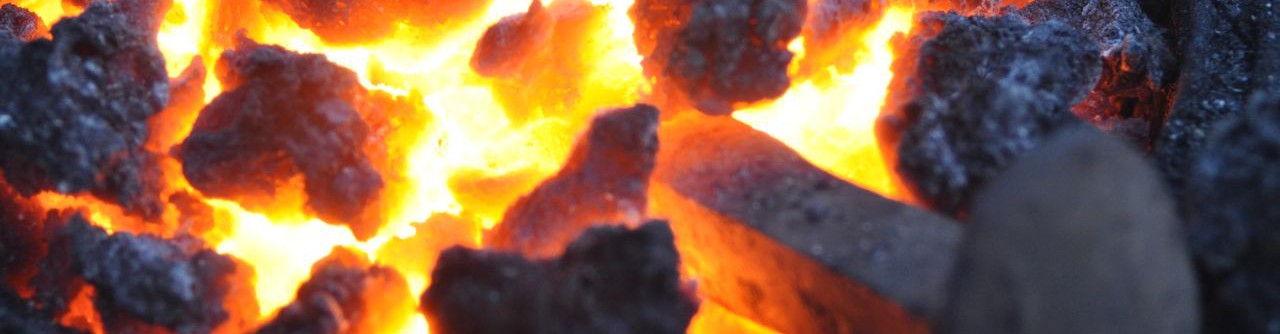
So finally we can get to how this all relates to forging. For ideal forging, we want as much energy as we can to go into the workpiece, into moving the molecules in relation to each other. If the workpiece is hard, most of the energy is transferred from hammer, to workpiece, to anvil, and back to hammer with minimal amounts going into the workpiece. The ideal workpiece is inelastic. How do we make it harder? By heating it up so the molecules move easier in relation to each other. With a good hammer and anvil, the energy is transferred from the hammer into the workpiece. About half of the energy goes into moving the workpiece molecules, flattening it, and from there it spreads out from molecule to molecules until the effect is invisible. The other half of the energy is transferred through the workpiece to the anvil. Maybe half, but more like a third of that energy goes into moving the anvil molecules (but because the workpiece has spread the energy over such a large surface on the anvil, the effect is barely noticeable), then the rest goes right back up into the workpiece. Half of /that/ energy deforms the workpiece some more, while the remainder goes back into the hammer, pushing it upwards with just enough force not to shoot into the smith’s face, but enough to raise it so the smith doesn’t need to do any work to lift the hammer. Then the process repeats.